Common guardian
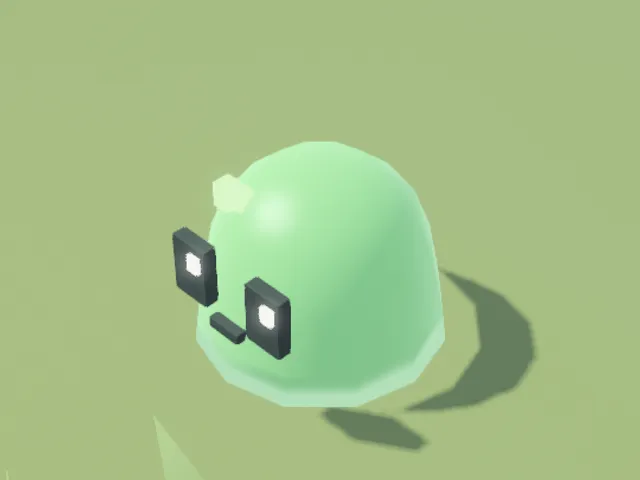
Dew slime
Where: Sunlit Meadows · tier 1
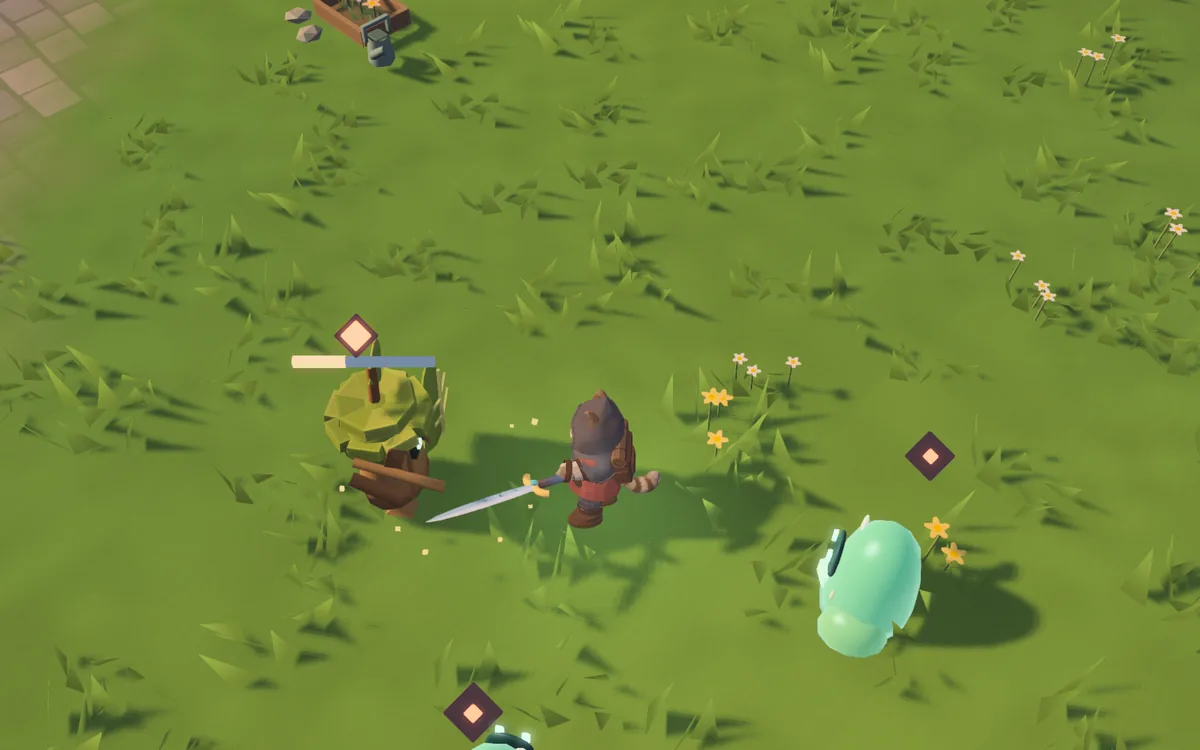
In the meadows, a moving earth trail reveals a burrowing mint slime. Approach to make it emerge; dodge its green spit and counter during recovery. Slimes elsewhere still hop.
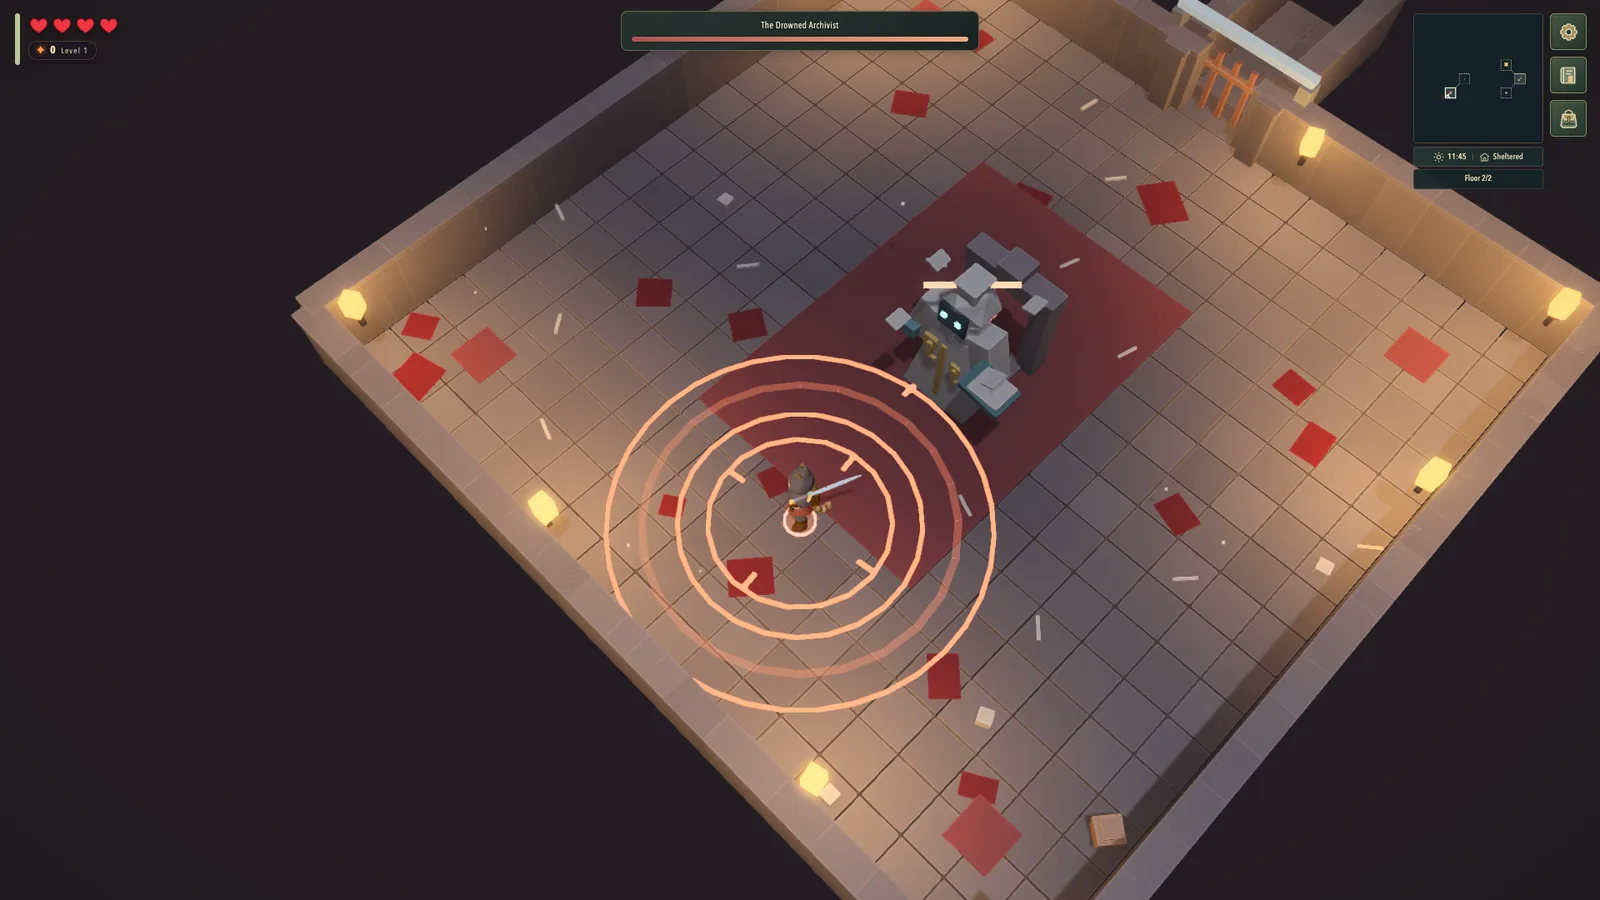
Every creature here comes straight from the game, pictured by the game’s own renderer. Whatever it is, the outline on the ground always shows the exact shape of its next blow.
Where: Sunlit Meadows · tier 1
In the meadows, a moving earth trail reveals a burrowing mint slime. Approach to make it emerge; dodge its green spit and counter during recovery. Slimes elsewhere still hop.
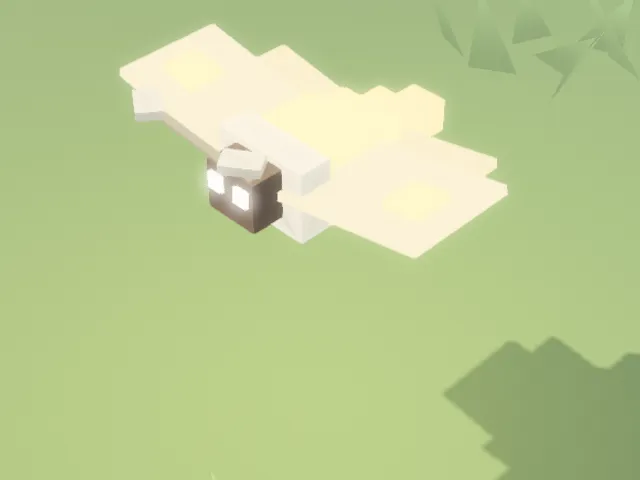
Where: Other lands · threat 1–6
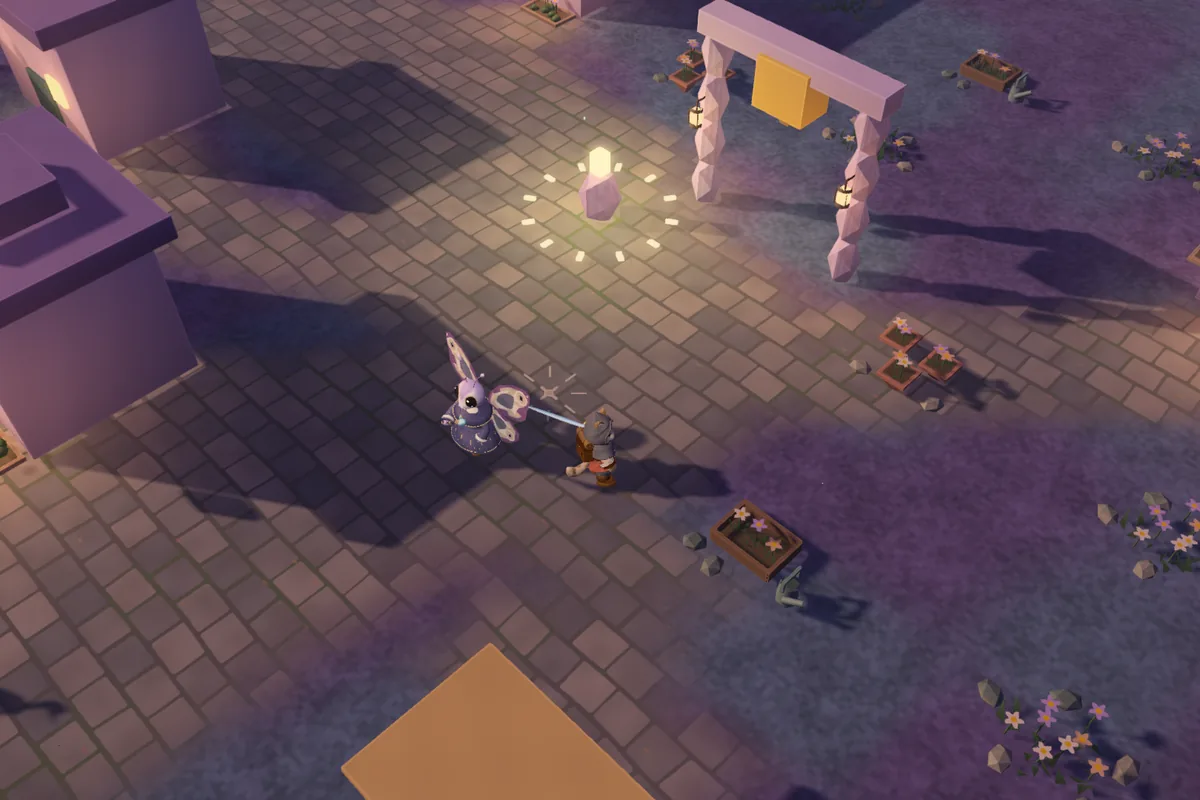
Outside the meadows, a lantern moth marks a red line before diving. In Sunlit Meadows its place is taken by an acorn guardian: it runs up, raises a twig club and strikes in melee.
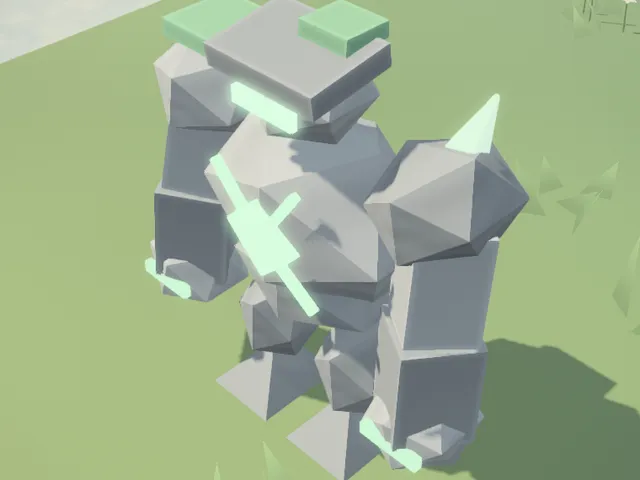
Where: Old ruins · threat 2–7
A stone guardian with a wide stomp. Dash away from the marked circle.
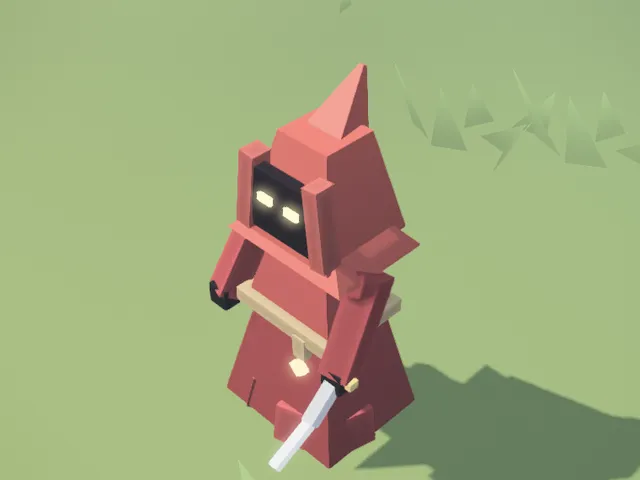
Where: Old ruins · threat 4–7
A robed singer who chants in the ruins. Leave its attack path and strike while it recovers.
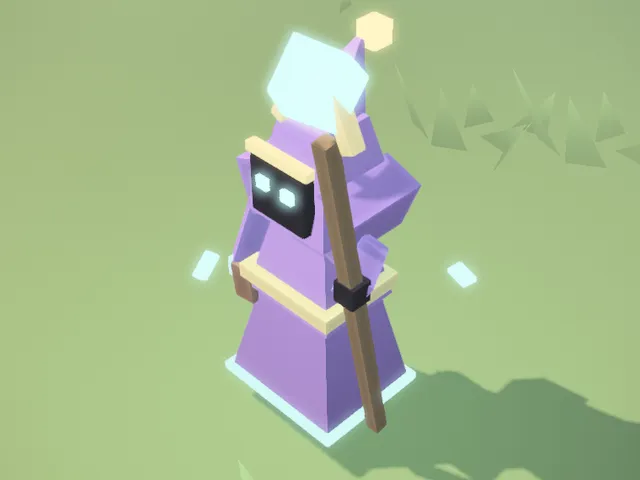
Where: Dungeons · caves · Waves Challenge
Keeps its distance: it backs away when you close in, circles you, then looses a bolt after a short wind-up. Dash in between its shots.
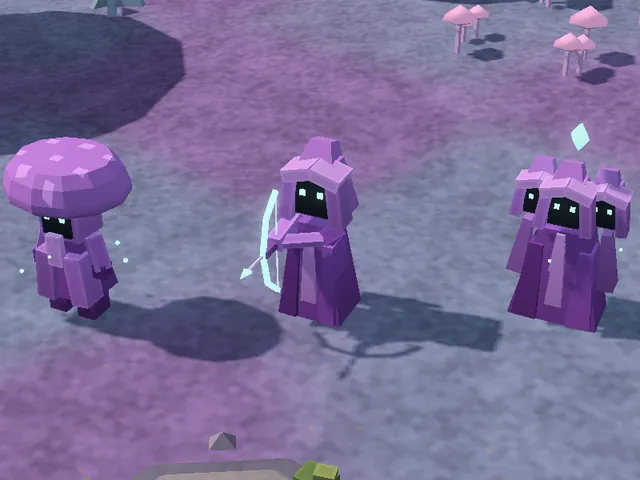
Where: The Violet Vale
In the Violet Vale the spellcasters wear the valley’s colours. All three keep their distance like a mage: the mushroom keeper’s hits build rot, the violet archer looses arrows and the violet witch casts violet bolts.
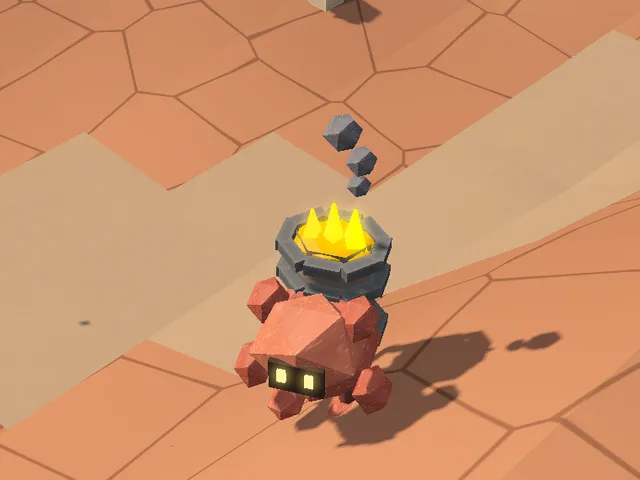
Where: Cinder Canyon
In Cinder Canyon the stone guardians are cinder imps. One keeps a few steps away, then winds up and throws a fire bomb where you stand. Keep moving, and close in while it recovers.
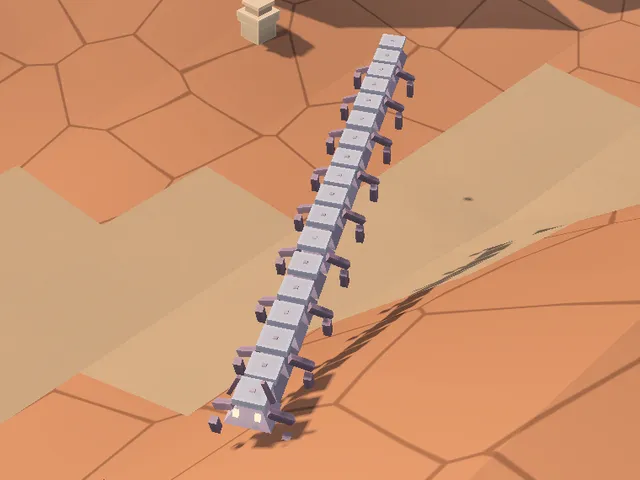
Where: Cinder Canyon
In Cinder Canyon the living bombs are ember centipedes. One coils a circle around the spot where you stand, and when the coil closes, poison pulses inside it. Step out of the circle before it closes.

Where: Ashglass Caldera · dungeons · Waves Challenge
Hops after you like a slime. When it lands beside you, brushes against you or takes a deadly blow, it lights its fuse, and a fire circle marks the blast. Get out before the circle fills.
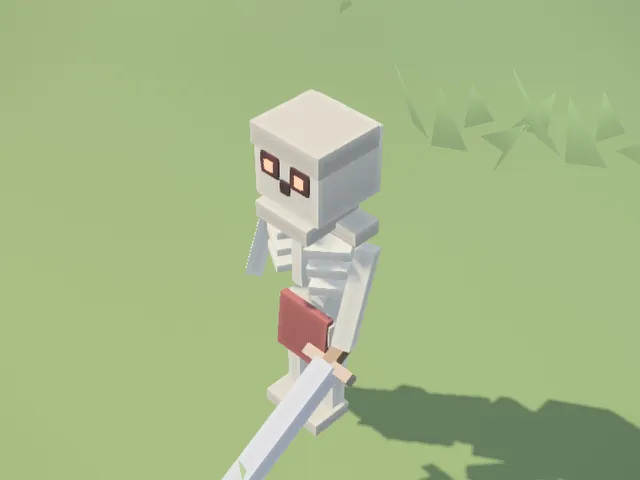
Where: Dungeons · Rookshade Hollow · Waves Challenge
A sword-swinging skeleton with a short, quick wind-up. Step back as soon as its outline appears, then strike while it recovers.
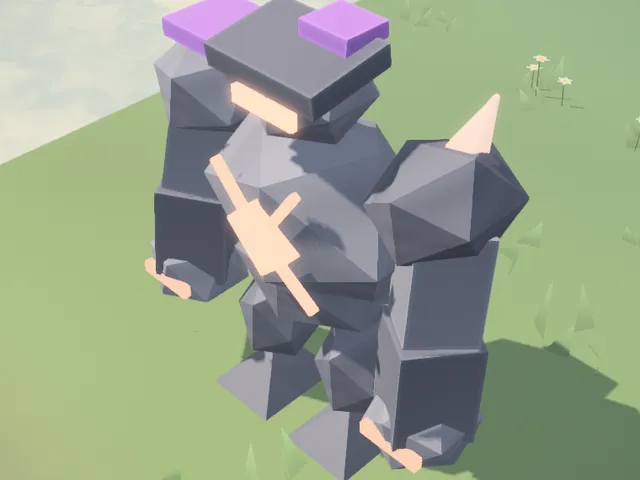
Where: White Stair / Unfinished Tower · boss
Stomps, charges and calls reinforcements. Watch the ground telegraphs.
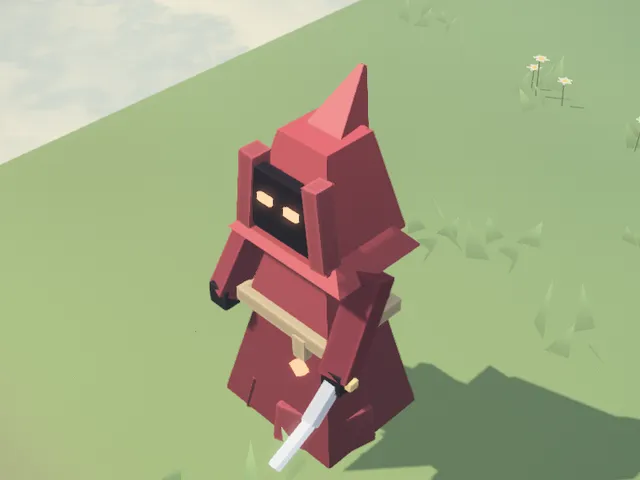
Where: Archive / Grotto / Foundry · boss
A robed Keeper who guards the final chamber with magic and retainers.
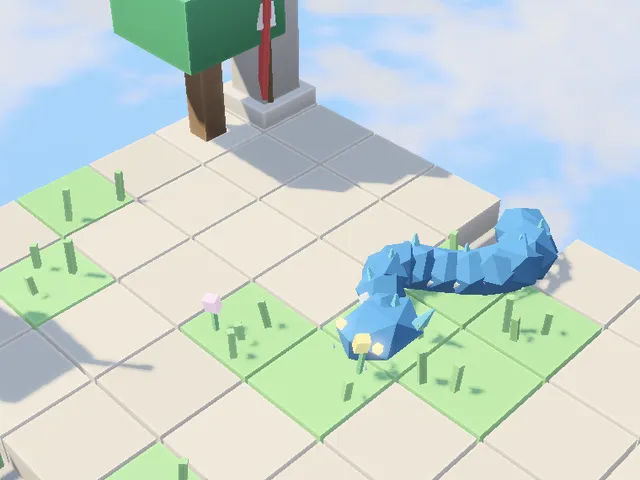
Where: The Rose Shore · outside Sunmere
The serpent rises as you approach and holds its head above water for 700 ms before each locked bite. Sidestep the lunge. It stays visible between attacks until you retreat beyond 11 metres. A third landed bite drags you toward the water; dash to escape.
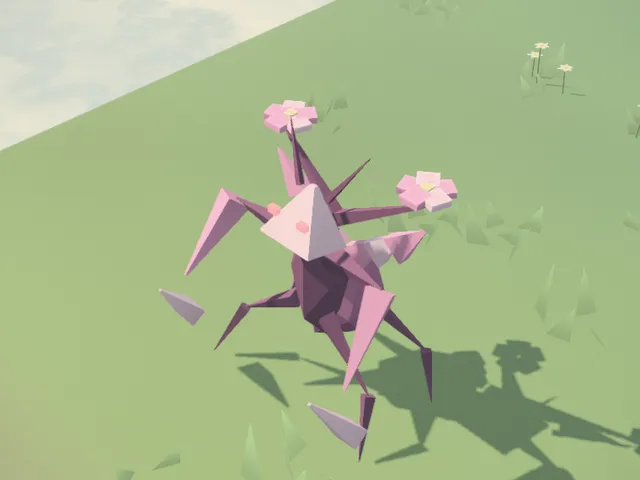
Where: The Rose Shore · outside Sunmere
A flowering tree unfolds into a mantis. Petals and raised claws warn of a fast cross-cut, without ground markers. Flank its frontal guard and strike during recovery.
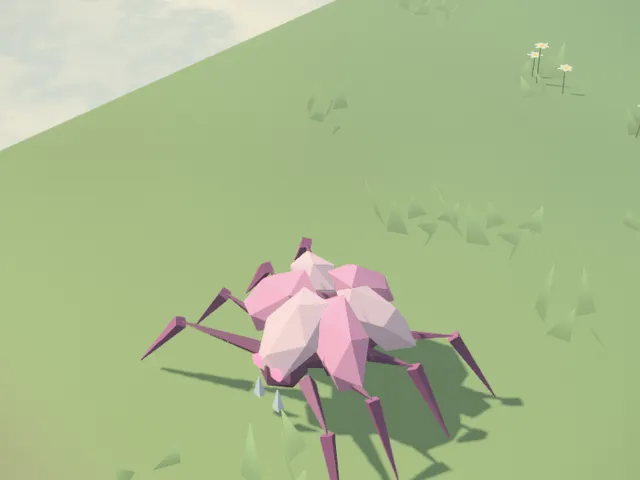
Where: The Rose Shore · outside Sunmere
An innocent flower snaps open and leaps in under half a second. Dash aside as its legs unfold; it lands at your last position and briefly recovers.
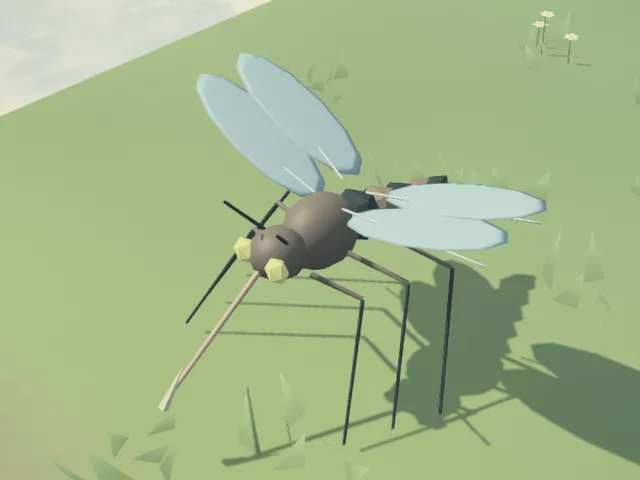
Where: The Lantern Fen
Hovers on veined wings, pauses to aim, then dives with its long proboscis. Sidestep the marked line and strike during its recovery.
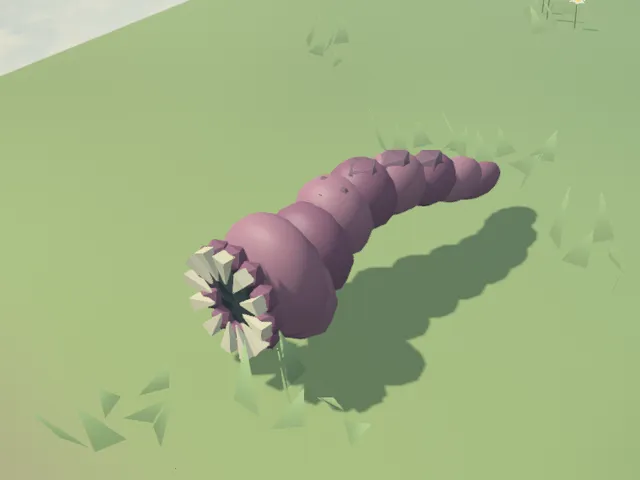
Where: The Lantern Fen
A heavy segmented worm with a circular toothed mouth. Coils before lunging at a fixed point; stepping aside leaves it exposed.
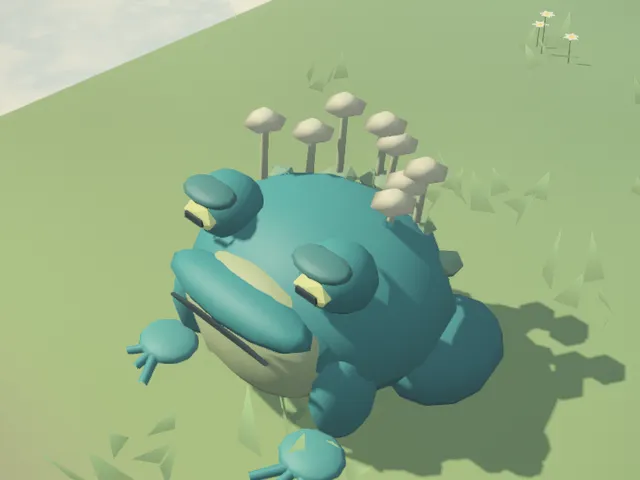
Where: The Lantern Fen
Lives in marsh pools with mushrooms on its back. Inflates its throat, then spits three bubbles at anyone within nine metres, even on dry land. Dodge sideways or use cover.
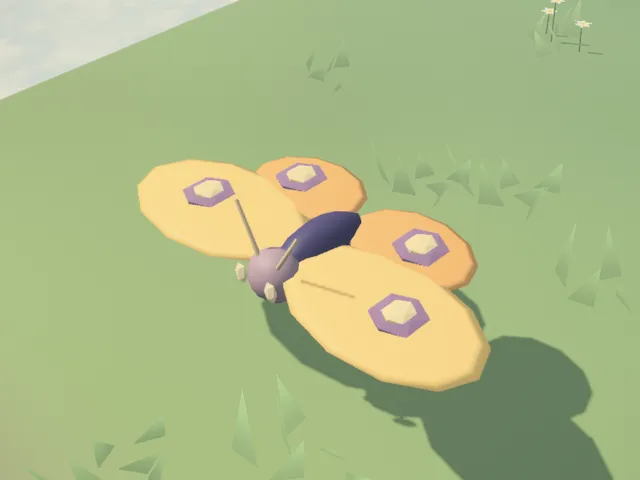
Where: Amber Afterlight
Circles on broad golden wings, folds them to gather light, then releases three slow amber seeds. Move between them while it rests.
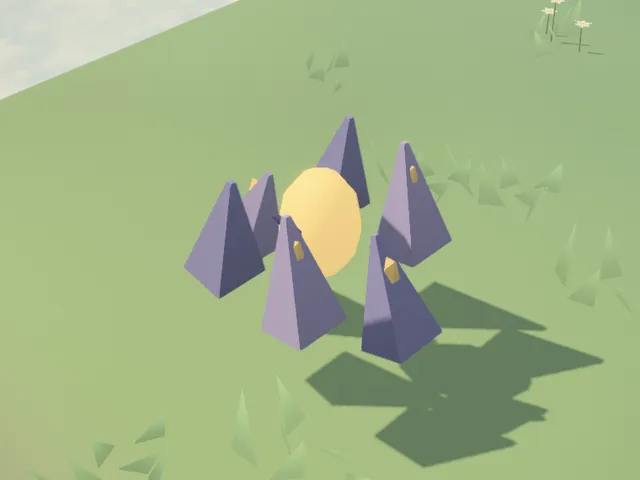
Where: Amber Afterlight
A floating amber heart held in a ring of violet stone shards. Its shards spread before a short pulse; leave the glowing circle, then strike its exposed heart.
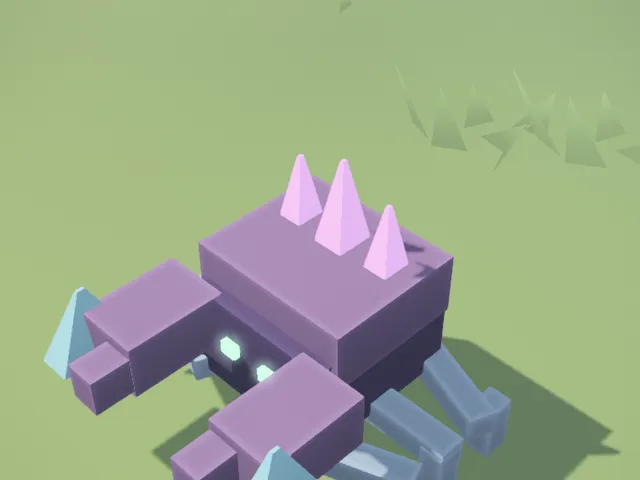
Where: Prism Hollow / Mushroom Chapel
Opens its claws before a close crystal burst. Its shell takes reduced damage until recovery exposes it.
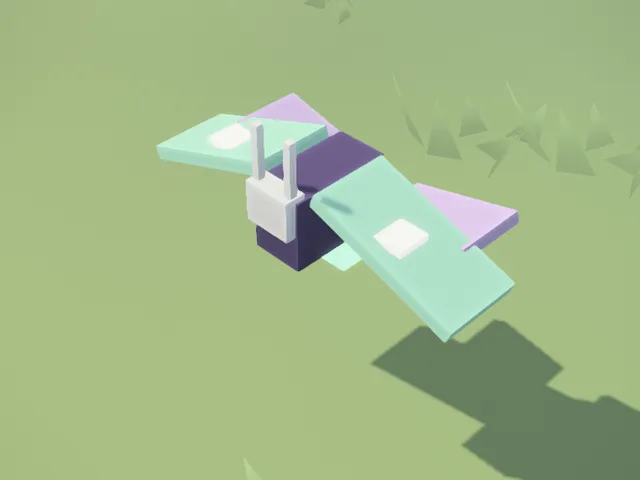
Where: Prism Hollow / Mushroom Chapel
Spreads its four wings, then releases a three-note fan. Move between the slow echoes.
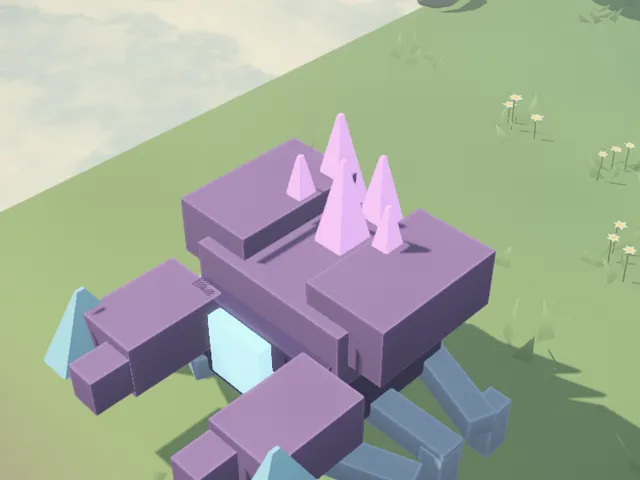
Where: Prism Hollow · second ring
I: armored claw slam. II: falling crystal clusters. III: a ring burst with a safe center. The shell opens during recovery; strike the cyan heart.
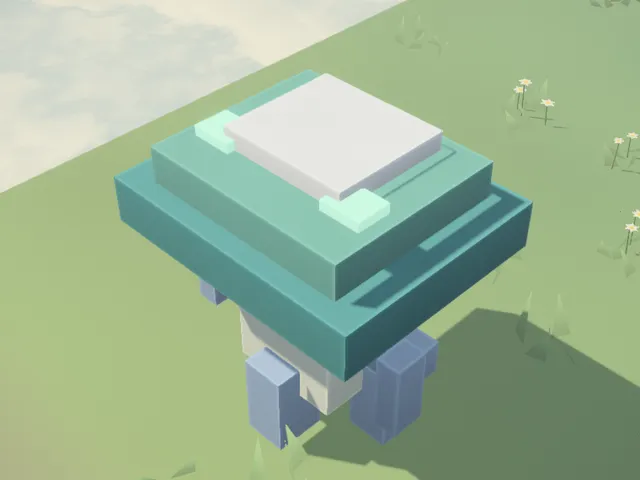
Where: Mushroom Chapel · second ring
I: marked spore pools. II: crossing root lanes. III: a spore crown. Pools linger briefly; the queen rests between casts.
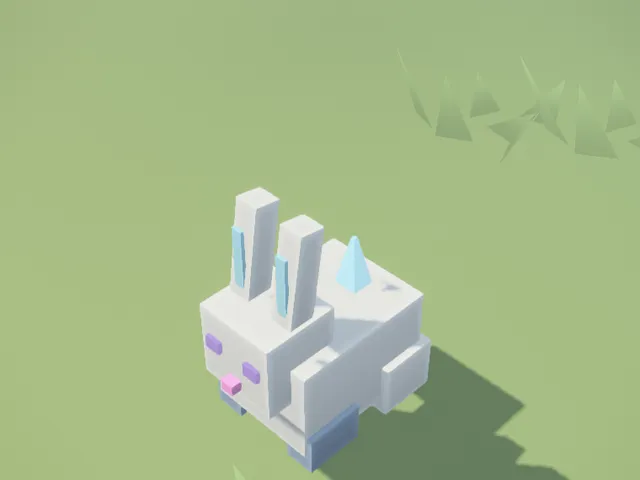
Where: The Pale North
Throws a snowball at a marked spot. Move after the circle appears.
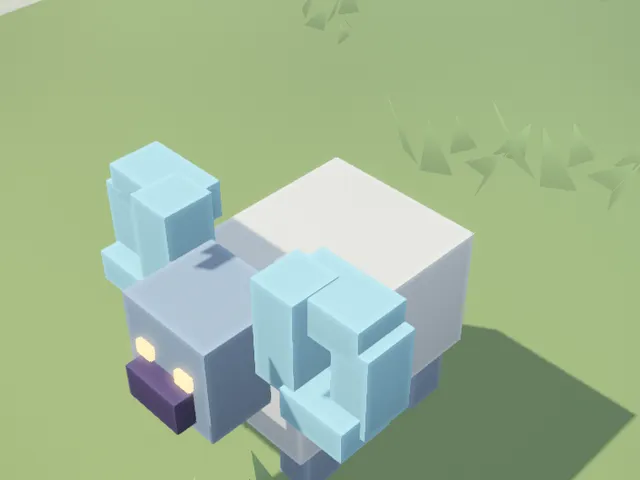
Where: The Pale North
Lowers its ice horns, locks a straight path and charges. Step sideways, then punish the recovery.
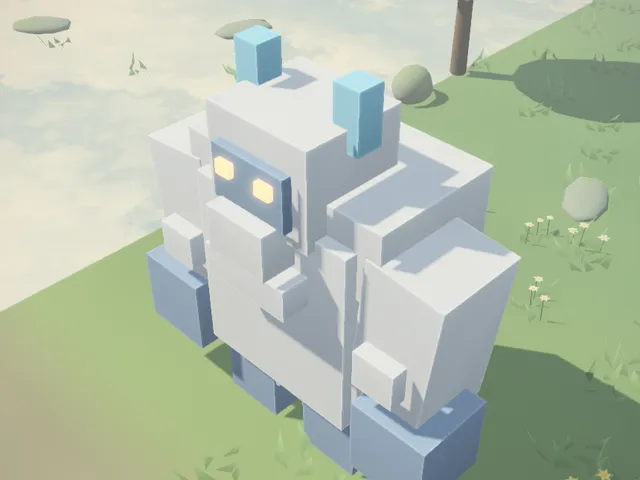
Where: The White Howl’s Den · northern second ring
I: heavy slams and charges. II: falling ice. III: blizzards with a safe eye. Ice grows on its shoulders at two-thirds and one-third health.
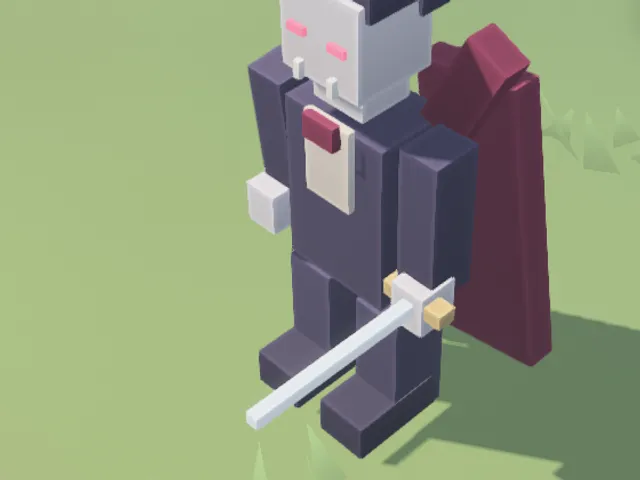
Where: Rookshade House
His human form telegraphs a thrust and a crossing cut. When he fades into a bat, step off each locked flight path: he cannot be harmed until he returns. Open a sun shutter to shorten his flight, then strike during the long recovery.
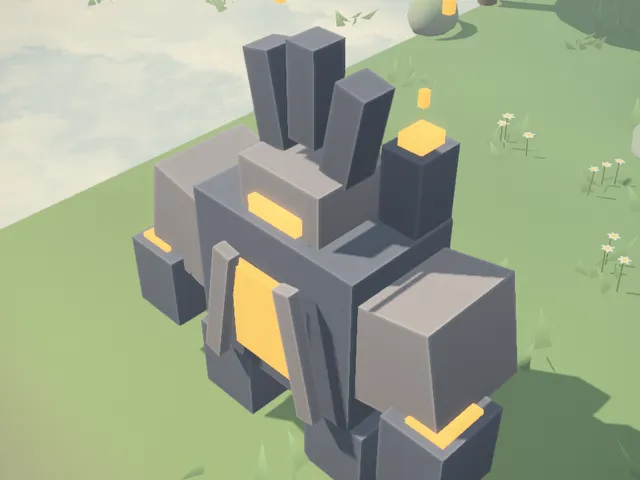
Where: Ashglass Caldera
Pressure feeds marked vents, sweeping flame lanes and a furnace ring with a safe center. Cooling valves create safe pools and release pressure. Fire burns for three half-heart ticks; water or two rolls put it out.
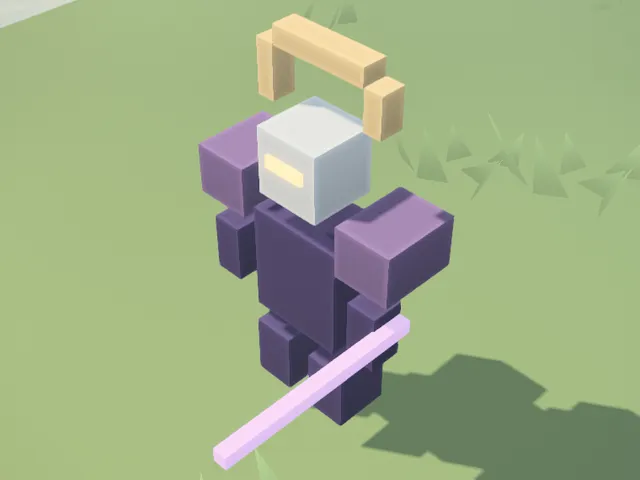
Where: The Last Crossing
Aims its blade along a narrow lane. Sidestep the dash, then move in before it can attack again.
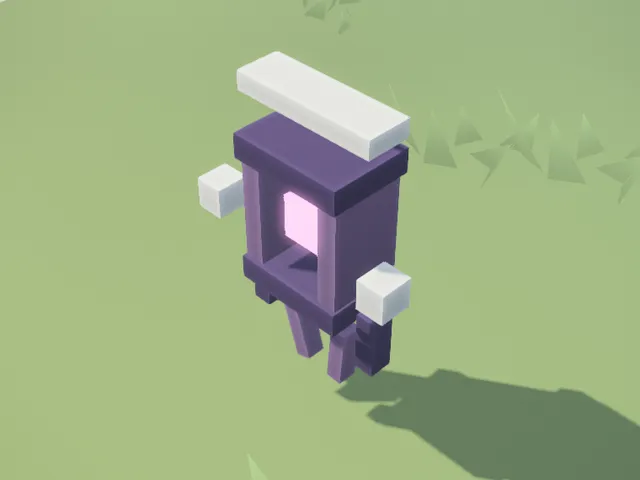
Where: The Last Crossing
Weaves a rift under your last position. Violet marks show exactly where the rift will open.
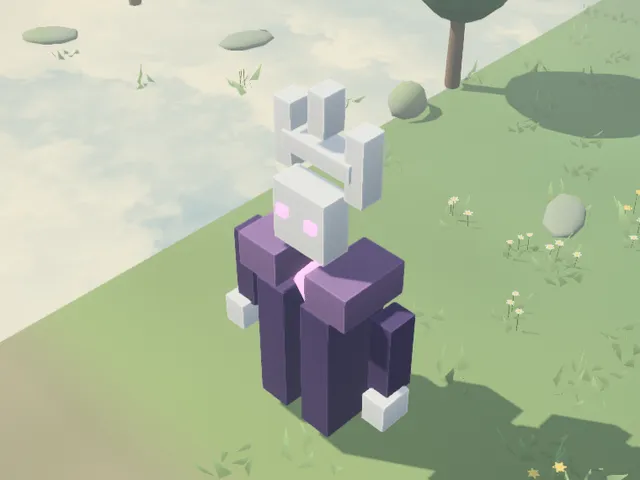
Where: The Winter Gate · beyond the Long Bridge
I: severing lanes. II: hollow rings and falling stars. III: crossing rifts and a broken helm. Ring centers are safe; the core is vulnerable during recovery.
The first island is free in your browser, with nothing to install. The full journey is on Galaxy Store: one purchase, no ads, no subscriptions.
Read next